

The oxy-fuel cutting process is accomplished by bringing the base metal to a molten state, then introducing a high-pressure stream of cutting oxygen. This will ignite and burn the metal as well as carry away the slag or oxidizing residue. Oxy-fuel cutting can be applied to plain carbon steels, low-alloy streets and other ferrous metals. Nonferrous metals, stainless steels and cast iron are not usually cut using oxy-fuel equipment. 1. Inspect the cone end, coupling nut, and torch head for dirt, dust, oil, grease, or damaged parts. Dirt and dust can be removed with a clean cloth. CAUTION: If oil, grease or damaged parts are detected, contact your authorized service service repair station for cleaning or repairs. 2. Inspect the cutting attachment cone end for missing or damaged "O" rings. There MUST BE two ( 2 ) "O" rings on the cone end. Damaged or missing "O" rings can allow gases to mix and will cause backfires or backflash. Severe damage can result. 3. Inspect the torch head. The tapered seating surfaces must be in good condition. If dents, burns or burned seats are present, the seat must be resurfaced. If the torch isused with poor seating surfaces, backfire or backflash may occur. 4. Connect the cutting attachment to the welding torch handle and tighten the coupling nut, using hand pressure only. Wrench tightening may damage "O" rings and create a faulty seal. ( See Fig 23 ) 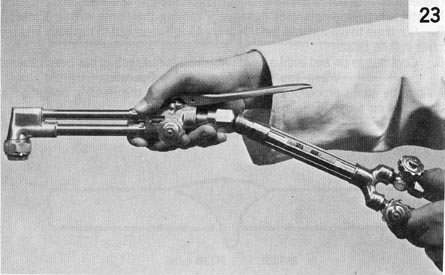 5. Select the required size and type of cutting tip. Inspect the tip seating surfaces for damage. REMEMBER -- these seating surfaces prevent premature mixing of gases that can cause fires and explosions. IF the tapered seats on the tip are damaged, DON'T USE! Inspect the pre-heat and cutting oxygen holes. Splatter can stick on or in these holes. If holes are clogged or obstructed clean them out with proper size tip cleaner 6. Insert the tip in the cutting attachment head and tighten securely with wrench ( 15 to 20 pounds pressure ). ( See Fig 24 ) 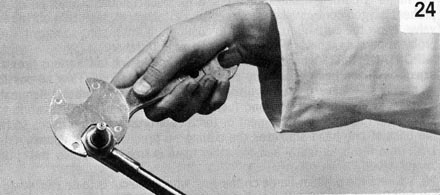 ( NOTE: If using a straight cutting torch as opposed to an attachment, disregard inapplicable parts of procedures 1 - 6. ) 7. Refer to cutting tip selection chart for correct cutting tip, regulator pressures, and travel speed. 8. Follow cylinder and regulator safety and operating procedures. 9. Open the oxygen valve on the welding torch completely. 10. Open the preheat oxygen control valve on the cutting attachment and adjust the oxygen regulator to the desired delivery pressure. 11. Close the preheat oxygen control valve. 12. Open the fuel valve on the welding torch handle and adjust the fuel regulator delivery range. 13. Close the fuel control valve on the torch handle. 14. Momentarily depress the cutting oxygen lever to purge the high pressure cutting oxygen passage. 15. Open the fuel valve on the torch handle approximately one-half turn and ignite with a spark lighter. NOTE: Wear protective goggles to shield the eyes from bright light. 16. Continue to increase the fuel supply at the torch handle until the flame clears the end of the tip about 1/8", then reduce the supply slightly to return the flame to the tip.
18. Depress the cutting oxygen lever. Note that the preheat flame changes slightly to a carburizing flame. Continue to depress the cutting oxygen lever and incease the preheat oxygen at the cutting attachment until the preheat flames are again neutral. |
 |
 |
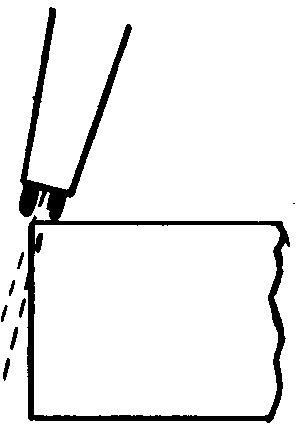 |
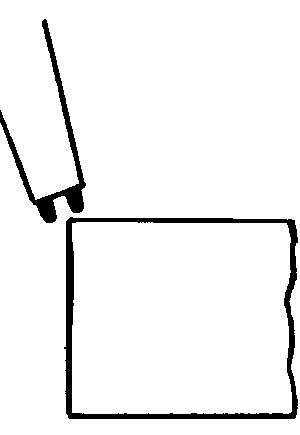
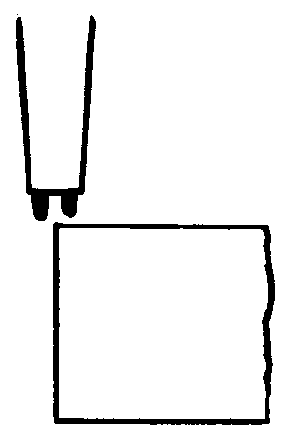
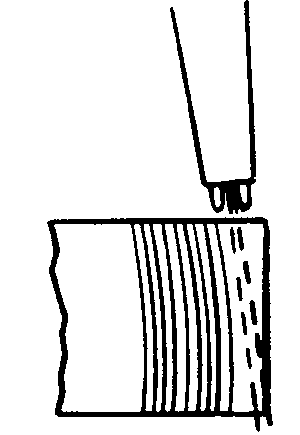
| 1. Start to preheat, point tip at angle on edge of plate. | 2. Rotate tip to upright position. | 3. Press oxy valve lever slowly, as cut starts, rotate tip backward slightly. |
 |
 |
 |
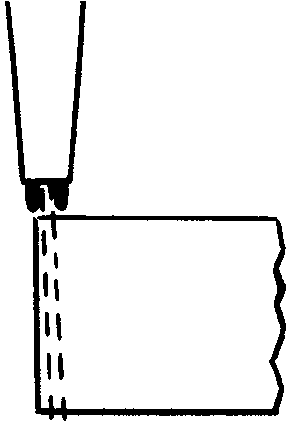
| 4. Now rotate to upright position without moving tip forward. | 5. Rotate tip more to point slightly in direction of cut. | 6. Advance as fast as good cutting action will permit. |
 |
 |
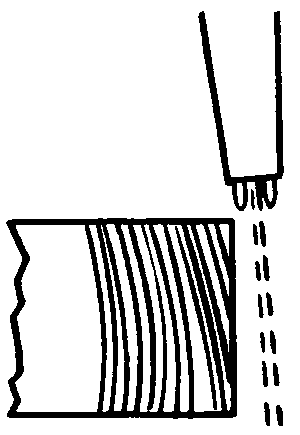 |
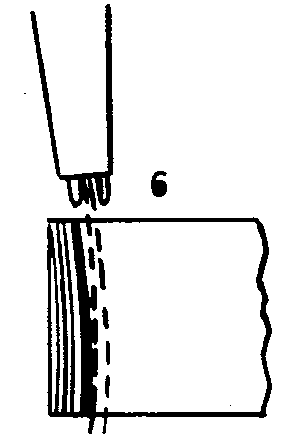
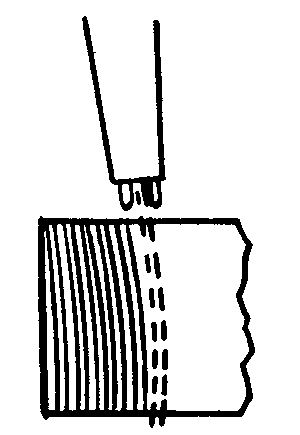
| 7. Do not jerk; maintain slight leading angle toward direction of cut. | 8. Slow down, let cutting stream sever corner at bottom. | 9. Continue steady forward motion until tip has cleared end. |

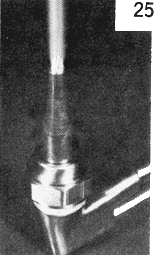 17. Slowly open the preheat oxygen control valve on the cutting attachment until the preheat flames establish a sharp inner cone. ( See Fig 25 ) The configuration of the short inner cone is called the Neutral Flame.